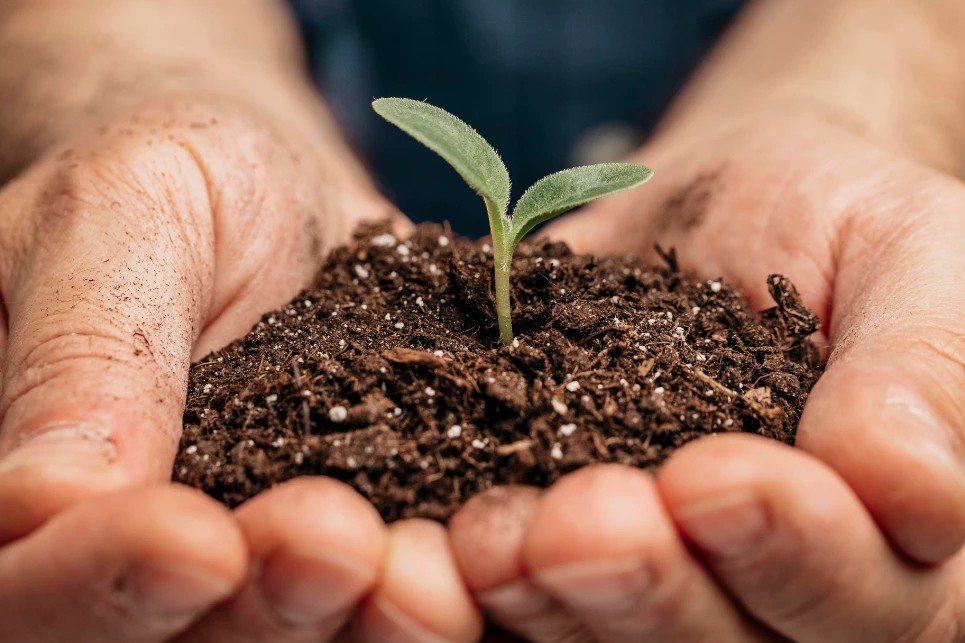
The greatest method for naturally enriching your soil is to make your own. Here are some easy actions you can take! Here are some easy and enjoyable methods to return some favors to Mother Earth—no fancy techniques or intricate formulas here. So grab a seat, because we’re going to talk everything about Composting Made Easy!
Making garden compost simply requires a few simple items. These consist of carbon, nitrogen, water, and air. You may gather kitchen and yard garbage to obtain these elements, but keep in mind that full decomposition takes time and could take months. So, how do you prepare compost for a garden? Take these actions.
1. Setting Up Your Bin It’s simple to get your compost going! You’ll need a bin to get started. If you are unable to locate one, don’t panic; you may purchase a pre-made pot from a garden store. Easy to start, no fuss!
Bin Fundamentals: Using a garden fork, make tiny holes to allow air to flow through the bottom. Now create a foundation by adding tiny sticks, twigs, or straw-like material that is 4–6 inches deep. This ensures that the compost has adequate air and aids with drainage.
- Browns and Greens Make Great Compost Ingredients
It is made similarly to how you would follow a recipe: the correct ingredients are required. They are carbon, nitrogen, water, and air. It’s not as fancy as it sounds! Here is a step-by-step guide on making compost.
Nitrogen-rich greens: Gather nitrogenous substances, mostly found in vegetables. Cut grass, uncooked vegetable peelings, coffee grounds, diluted urine (yes, you read that correctly), manure, and weeds are some examples of these plants. The quick rotters are these!
Carbon-based browns: Continue gathering carbon compounds, primarily referred to as “the browns.” They consist of brown pruning, cardboard, cereal boxes, dead leaves, and hedge clippings. The slow rotters are these!
- Fill Your Bin in Layers
- Twigs: As said in the first phase, the bottom layer with sticks and twigs for ventilation.
- Compost: Add those nitrogen-rich greens. Combine them with browns high in carbon to create an amazing compost.
- Water: As you proceed, keep adding water. You need to keep your heap hydrated!
Combining Magic: Combine quickly withering greens with slowly rotting browns to prevent foul odors. Imagine it as the result of mixing little sticks with recently cut grass. Break up large objects, tear apart cardboard, and pulverize eggshells. To expedite the process, include some bacteria or nutrients as well.
How to Do it: Let us take the example of freshly cut grass. This may be combined with feeble sticks or other wood compounds. Why is this so? The main reason behind this is to prevent odors.
4.Checking the Heat and Mixing it Up
After three days, reach over the top of the pile and feel to see whether it’s hot. If so, this indicates that the breakdown process has begun. After a week, return to the bin and follow the same steps.
In case it feels chilly, begin blending it. But give it another week if it seems hot. Using a shovel or garden fork, thoroughly and evenly mix the contents within the container. Stirring continuously, shift the contents from top to bottom.
This contributes oxygen, the last element, which speeds up the breakdown process. For the following four to six weeks, repeat this procedure.
Advice: Before beginning, it’s best to add water if the mixture seems dry.
- The Waiting Game: Is Your Compost Ready?
Patience is key in composting. You should go for the look test. A ready heap is dark brown. That’s when you know it’s time to spread it in your garden!
You should also give a good whiff. To determine if your heap is ready, look for a dark brown color, which often has the smell of earth.
6. Compost Challenges and Solutions If you do not get a brown color or a smell like the earth’s, you might need to give it some time. Here are common reasons why your compost might not be ready and steps to take care of them.
- Not Heating Up: You need to check the balance of greens and browns. If it’s still not heating, add more nitrogen-rich greens.
- Smells Weird: You should mix it up more often, add more browns, and avoid putting in meat or dairy.
- Taking a Long Time: You should chop things up and make them smaller. Add more greens, and make sure it’s not too dry.
- Compost is Too Wet: You need to add more browns like cardboard or leaves and mix it well.
7. Using Your Compost in the Garden
Let’s use it in your garden now that you have it ready. This is how to apply it:
- Mix It In: Distribute it among your plants’ bases. Allow your plants to absorb the nutrients by gradually incorporating it into the dirt.
- Top Dressing: Cover the soil’s surface with a thin layer of compost. This will assist your plants stay hydrated, ward off weeds, and receive the care they need.
- Compost Tea: This isn’t your typical tea! Use a compost-water mixture to water your plants after letting it sit for a while.


Leave a comment